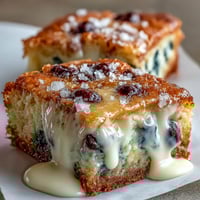
 Pin
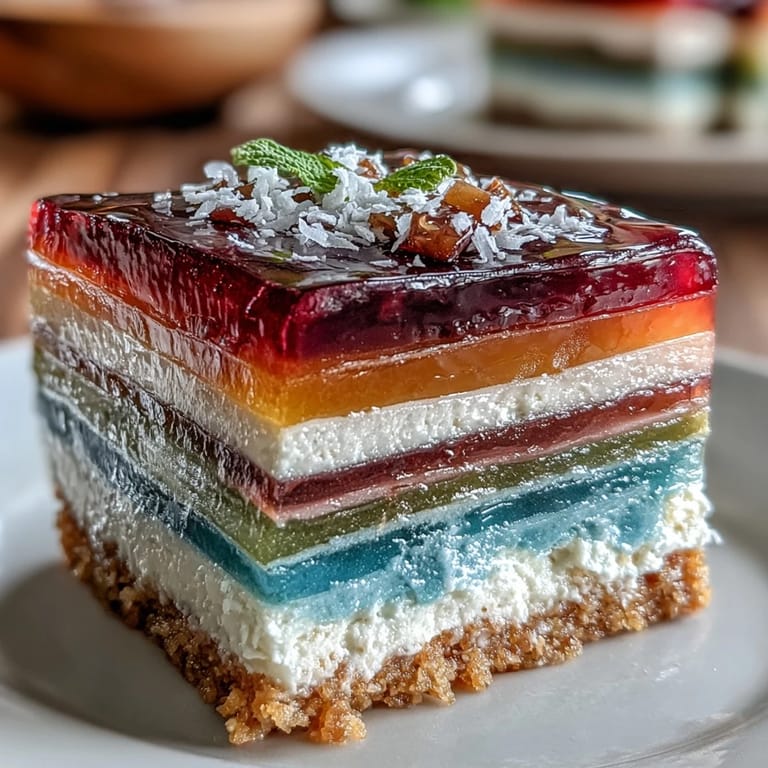
Pin Creating this Agar-Agar Rainbow Jelly Cake always brings a smile to my face, especially thinking about the first time I attempted it for a summer barbecue. The vibrant colors of the jellies reflect the joy and energy of a sunny day, with each layer teasing the palate with its fruity essence. As I prepped the ingredients, I could already hear the laughter of friends and the sizzling of the grill. That day was less about the dish being perfect and more about the joy it brought to everyone gathered around. It's a dessert that transforms any gathering into a colorful celebration.
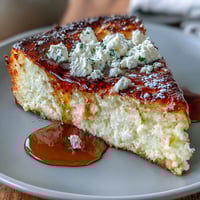
The first time I served this jelly cake, there were kids running around and adults reminiscing about their childhood favorites. I still remember the delighted gasps as they cut through the rainbow layers, revealing that beautiful spectrum. The laughter echoed around the kitchen, mixed with the clinking of spoons against the bowls of untouched dessert. It was one of those moments that solidified how food can unify and create joy, no matter the age or background. Seeing everyone enjoying their slices made all the effort feel infinitely worthwhile.
Ingredients
- 2 liters water: This forms the base of your jelly, ensuring it sets beautifully and holds its vibrant color.
- 16 g agar-agar powder: A vegan alternative to gelatin, agar-agar helps create the unique jelly texture you're aiming for.
- 400 g granulated sugar: Crucial for sweetness, it balances out the fruit flavors you've chosen.
- 1/2 teaspoon vanilla extract: This adds a warm depth to the jellies, enhancing the sweetness perfectly.
- Gel food coloring: Opt for gels instead of liquids for the most vibrant hues.
- 1/2 cup fruit juice per color: Optional, but it brings a delightful natural flavor to each layer that's worth the splurge.
- 400 ml coconut milk: This rich, creamy layer tops off the jelly with its lusciousness.
- 4 g agar-agar powder: Used again for the coconut cream, it ensures your topping sets nicely.
- 40 g granulated sugar: A little sweetness to balance the richness of the coconut milk.
- Pinch of salt: It heightens flavors, bringing the whole dessert together.
Tired of Takeout? 🥡
Get 10 meals you can make faster than delivery arrives. Seriously.
One email. No spam. Unsubscribe anytime.
Instructions
- Prepare the Jelly Base:
- In a large saucepan, combine 2 liters of water and 16 g agar-agar powder. Stir constantly over medium heat until dissolved, then add 400 g sugar and stir until dissolved, finishing with a splash of vanilla.
- Divide and Color Jelly:
- Pour the hot mixture into six bowls, adding different gel colors to each bowl for that eye-catching rainbow effect. For added flavor, incorporate fruit juice into each bowl if desired.
- Assemble Layers:
- Pour the first color into a rectangular cake pan, refrigerate until just set, then layer the next color on top, repeating until all colors are used. Remember to chill between layers to keep the colors beautifully distinct.
- Prepare the Coconut Cream:
- In a clean saucepan, combine 400 ml coconut milk, 4 g agar-agar, 40 g sugar, and a pinch of salt. Bring to a boil and simmer for 2–3 minutes to ensure the agar-agar is fully dissolved.
- Top with Coconut Cream:
- Let the coconut cream cool slightly, then pour over the final jelly layer and let it set in the refrigerator for at least 2 hours.
- Serve:
- To serve, gently loosen the edges with a thin knife before inverting it onto a plate. Slice up this stunning cake and watch the faces light up.
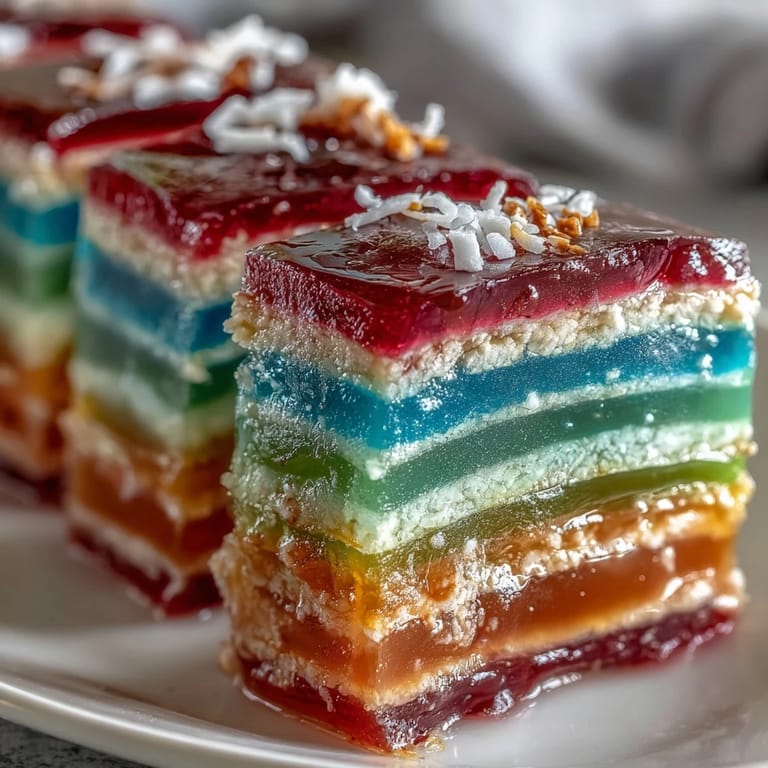
 Pin
Pin This jelly cake isn't just a treat; it becomes the hero of any table, capturing the spirit of fun times and shared laughter. The colorful layers create not just a dessert but a visual memory, one that people recall long after the last slice is gone.
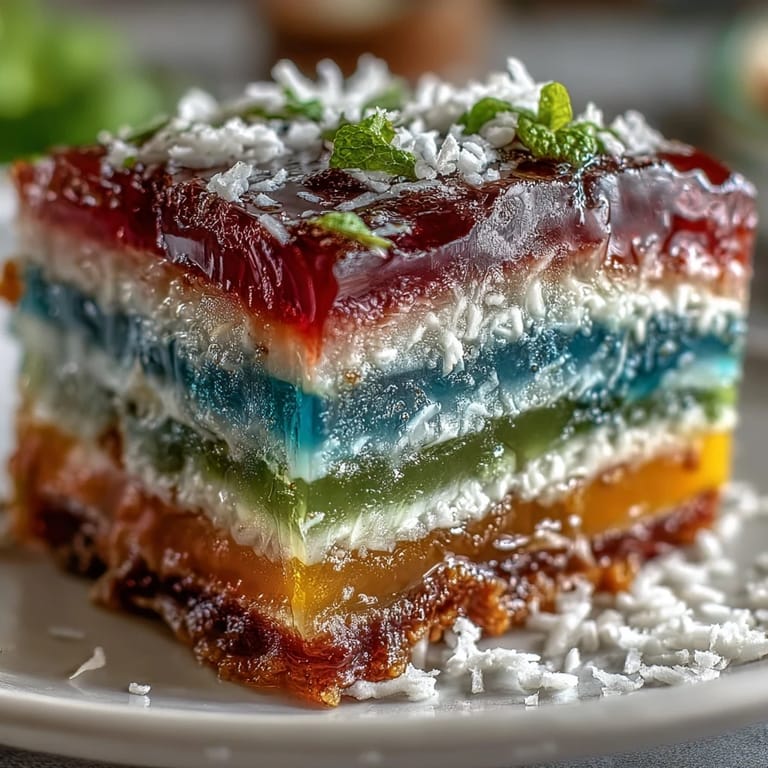
It’s All About Presentation
Taking the time to layer the colors properly allows for an aesthetic that delights even before the first bite. The shimmering layers often draw comments, and it’s fulfilling to revel in the joy it brings to my friends and family.
Experimenting with Flavors
Don't hesitate to switch up the fruit juices based on what you have on hand or your favorites. Pineapple, orange, or even berry juices can all bring a lovely brightness to each layer.
Last-Minute Tips for Success
Be sure your bowls stay warm if you’re working with multiple colors to prevent setting too quickly.
- Try adding diced fruit between layers for a delightful surprise of texture.
- Storing leftovers isn’t a problem; just keep them sealed in the fridge.
- Remember to savor every moment while preparing—it’s the best part!
 Pin
Pin Embrace the process and have fun with this dessert; every layer pulled together reflects not just the ingredients but the joy of creating something special. May your cooking spark as many smiles as this jelly cake has for me!
Recipe FAQ
- → Can I use different flavors for the jelly?
Absolutely! Feel free to experiment with various fruit juices to create unique flavors for each jelly layer.
- → How can I achieve brighter colors in the jelly?
Using gel food colorings will provide the strongest and most vibrant colors compared to liquid colors.
- → What can I substitute for coconut milk?
You can use other plant-based milks, but be sure to adjust the sweetness according to your preference.
- → How long does the cake need to chill?
After assembling the layers, it's best to chill the cake for at least 2 hours to set properly.
- → Is this dessert suitable for a gluten-free diet?
Yes, this cake is completely gluten-free and also dairy-free, making it a great option for those with dietary restrictions.