 Pin
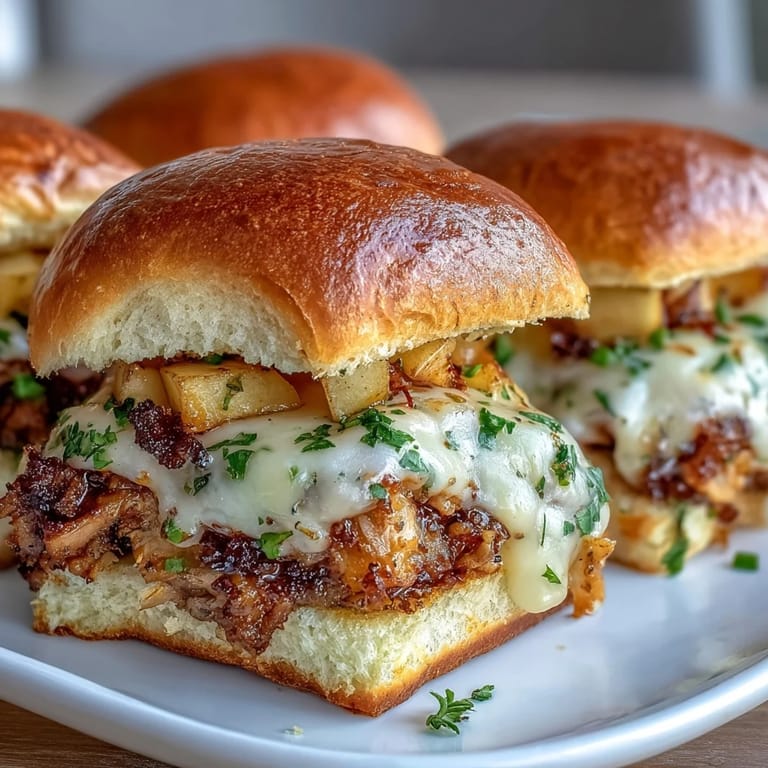
Pin The first time I made these Apple Cheddar Turkey Melt Sliders, it wasn’t for a special occasion—just one of those evenings when the fridge happened to hold everything I needed. The sizzle of butter on the pan, the way the sharp cheddar barely clings to the edges as it melts, and the crisp snap of apple slices made the kitchen feel unexpectedly inviting. Nothing planned, yet by the time the sliders came out of the oven, the whole kitchen smelled simultaneously cozy and playful. That harmonious mix of savory and sweet surprised me with how quickly it all came together. Suddenly, these little sandwiches became our weeknight victory meal.
I remember sliding a tray of these into the oven just as friends arrived unexpectedly one autumn afternoon—the kind of impromptu hangout where you need something fast, warm, and impressive. We ended up gathered around my kitchen island, laughing about our various apple preferences and swiping extra honey mustard onto the still-steaming buns. There was something satisfying about watching the cheese bubble up and catching everyone’s first delighted bite.
Ingredients
- Sliced roast turkey breast: Look for thick, moist slices; leftover Thanksgiving turkey or good-quality deli meat both work beautifully.
- Sharp cheddar cheese: The sharper the better for balancing the sweetness from the apples; I’ve found it slices easier straight from the fridge.
- Crisp apple (such as Granny Smith or Honeycrisp): Tart varieties hold their own without turning mushy—core and slice thinly for perfect layering.
- Slider buns or small dinner rolls: Soft buns allow the flavors to meld; day-old buns get revived in the oven.
- Honey mustard: A thin swipe on both sides of the buns adds an unexpected pep—homemade or store-bought both shine here.
- Mayonnaise (optional): Adds richness; if you’re feeling indulgent, use it on the bottom buns for extra creaminess.
- Unsalted butter, melted: Brushing the tops before baking gives that irresistible golden finish.
- Garlic powder: Just a touch transforms the butter and elevates the bun tops.
- Dried thyme (optional): A little earthy herb takes these to another level; totally skippable, but lovely if you have it.
- Salt and pepper: Sprinkle to taste—don’t forget to season the turkey before it goes in for that pop of flavor.
Tired of Takeout? 🥡
Get 10 meals you can make faster than delivery arrives. Seriously.
One email. No spam. Unsubscribe anytime.
Instructions
- Heat up the oven:
- Set the oven to 180°C (350°F) and get your baking sheet ready with parchment—less mess, more fun.
- Prep your buns:
- Saw each slider bun in half horizontally and lay the bottoms flat on the baking sheet like mini canvases.
- Spread the flavor:
- Smear a thin layer of honey mustard—and a bit of mayo, if desired—on all freshly cut sides; it’s all about those edges.
- Layer it up:
- Top each base bun with slices of turkey, then tuck in apple slices, and crown with cheddar—let the cheese peek out if you like some extra crispiness later.
- Close the sandwiches:
- Set the top half of each bun in place, pressing gently to settle the stack.
- Mix and brush the butter:
- Stir together melted butter, garlic powder, and dried thyme in a small bowl, then lavishly brush over the tops to cover every nook.
- Bake and melt:
- Cover the tray loosely with foil and bake for 10 minutes; the aroma will sneak out before you’re ready.
- Get golden:
- Remove the foil and return the sliders to the oven for another 3–5 minutes—watch closely as the cheese bubbles and the tops go golden-brown.
- Serve and enjoy:
- Let them cool for a couple minutes, then serve warm while the cheese is still perfectly oozy.
 Pin
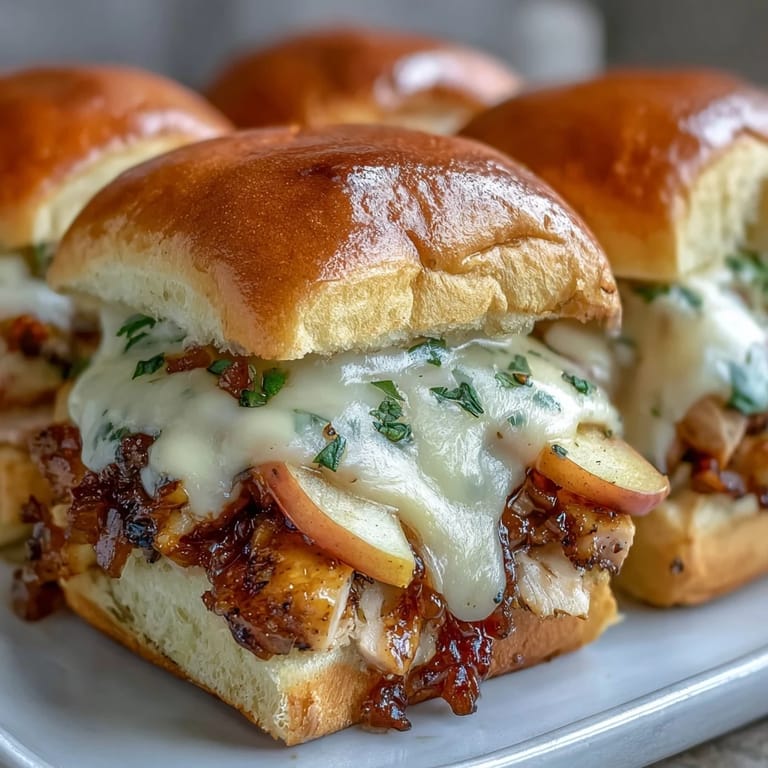
Pin It was a simple weekday lunch when my youngest announced halfway through a mouthful that these were better than takeout, which turned a regular meal into a ridiculously proud kitchen moment. Since then, even leftover bits become an excuse to whip up an extra batch for midnight snacks.
Making Them Your Own
There’s something fun about letting guests pick their cheese—one brave friend raided my fridge and added a slice of smoky Gouda next to the cheddar, accidentally creating a new favorite combo. Some like to double-up the apple for more bite, or swap in arugula for a fresh twist. You almost can’t go wrong, as long as you keep the bun-to-filling-to-cheese ratio in harmony.
Serving Suggestions That Always Work
These sliders shine next to a crisp salad or a simple bowl of soup, especially on chilly nights. For parties, cut them in half for bite-sized appetizers, or pile them high and let family help themselves for an easy buffet. My tip: serve with a zippy pickle or a splash of cider—the contrasts make each bite pop.
Troubleshooting and Quick Fixes
On one hurried day, I used slightly stale buns and worried they’d be a letdown, but the buttery bake revived them better than expected. Even if the cheese leaks out, those crispy caramelized edges are always the first to go.
- If your cheese melts too fast, loosely re-cover with foil for the last few minutes.
- Don’t skip brushing every bun top—this is where most of the flavor hides.
- A gentle press before baking helps the layers set and stay put.
 Pin
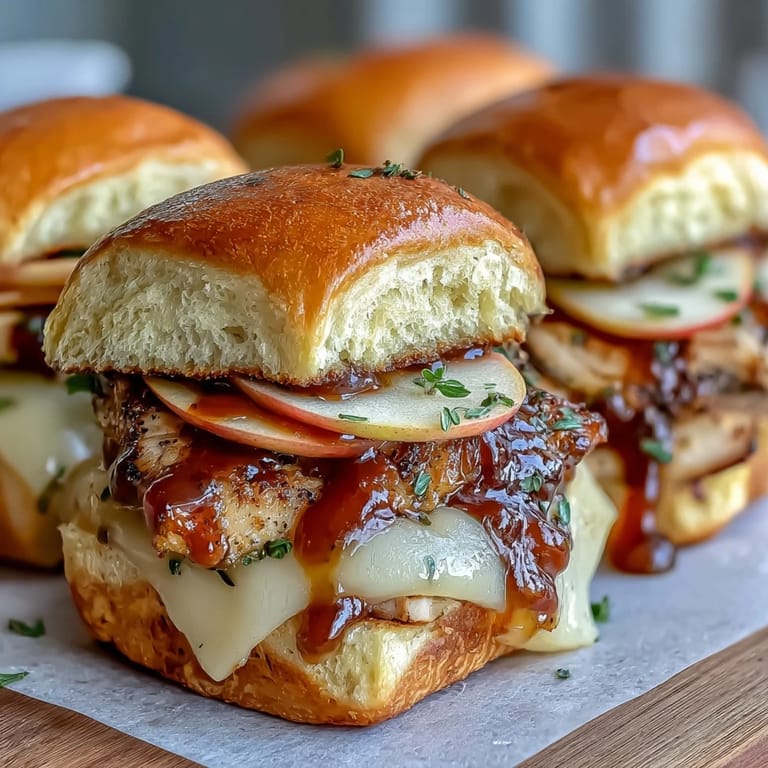
Pin Whip up a tray of these and you’ll see how quickly a bunch of simple ingredients can become a shared kitchen ritual. Here’s hoping your sliders disappear as happily as ours always do!
Recipe FAQ
- → What type of apple works best?
Crisp apples like Granny Smith or Honeycrisp provide a refreshing texture and balance the savory flavors well.
- → Can I substitute the cheddar cheese?
Yes, Swiss or Gouda make great alternatives for a different flavor profile.
- → How do I get the tops golden and melty?
Brushing the tops with melted butter mixed with garlic powder and baking uncovered during the last minutes creates a golden, melted finish.
- → Are these sliders good served cold?
They are best enjoyed warm so the cheese is melted and flavors meld together nicely.
- → What can I add for extra freshness?
Add a handful of arugula or baby spinach before baking for a fresh, peppery touch.