 Pin
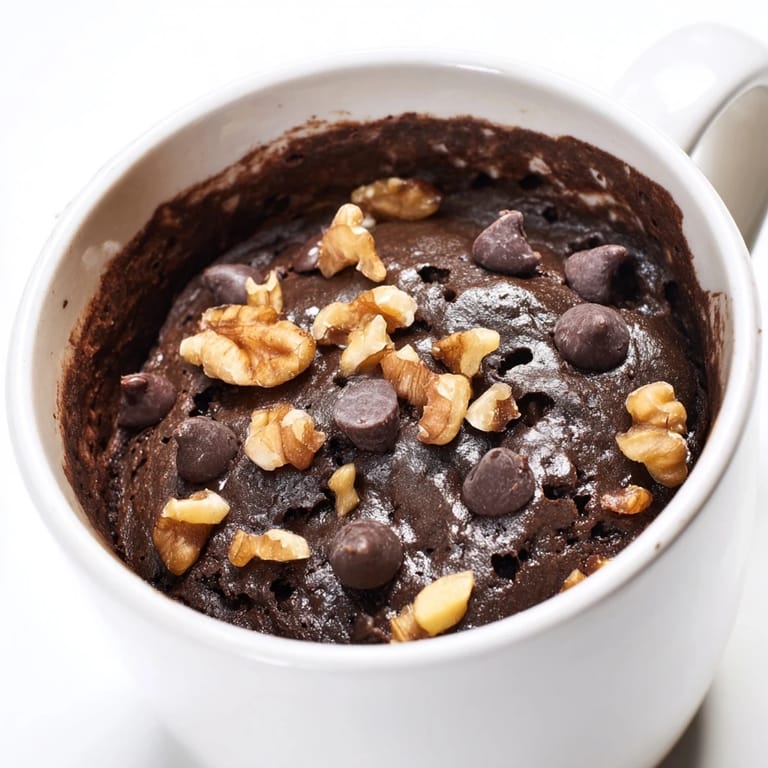
Pin I was halfway through a late shift when the craving hit—not polite, not patient, just urgent. No eggs in the fridge, no patience for preheating an oven. Just a mug, a microwave, and a wild guess that became my most-made dessert. That first attempt puffed up like a tiny volcano and tasted like pure relief.
The first time I made this for my roommate, she watched me dump everything into a mug and laughed. Sixty seconds later, she was asking for the ratio. We ended up making two more that night, experimenting with peanut butter swirls and crushed pretzels, giggling like we'd discovered something illegal.
Ingredients
- All-purpose flour: The structure that holds it all together without needing eggs—measure it lightly, don't pack it, or you'll get a dense puck instead of fudgy cake.
- Granulated sugar: Sweetness and moisture in one, and it dissolves fast so you don't get gritty bites.
- Unsweetened cocoa powder: Go for the good stuff if you have it, the kind that smells like actual chocolate, not dust.
- Salt: Just a pinch wakes up the chocolate flavor and keeps it from tasting flat.
- Vegetable oil: Melted butter tastes richer, but oil keeps it softer longer and you don't have to wait for anything to melt.
- Milk: Any kind works—I've used oat milk, almond milk, even a splash of coffee once, and it all turned out.
- Vanilla extract: A few drops make it smell like you actually baked something instead of microwaved it.
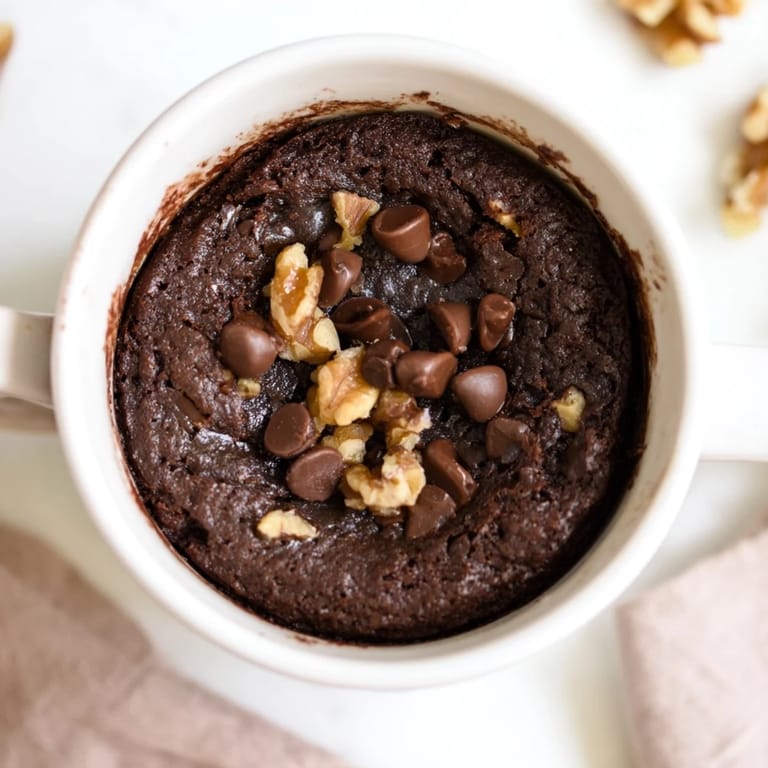
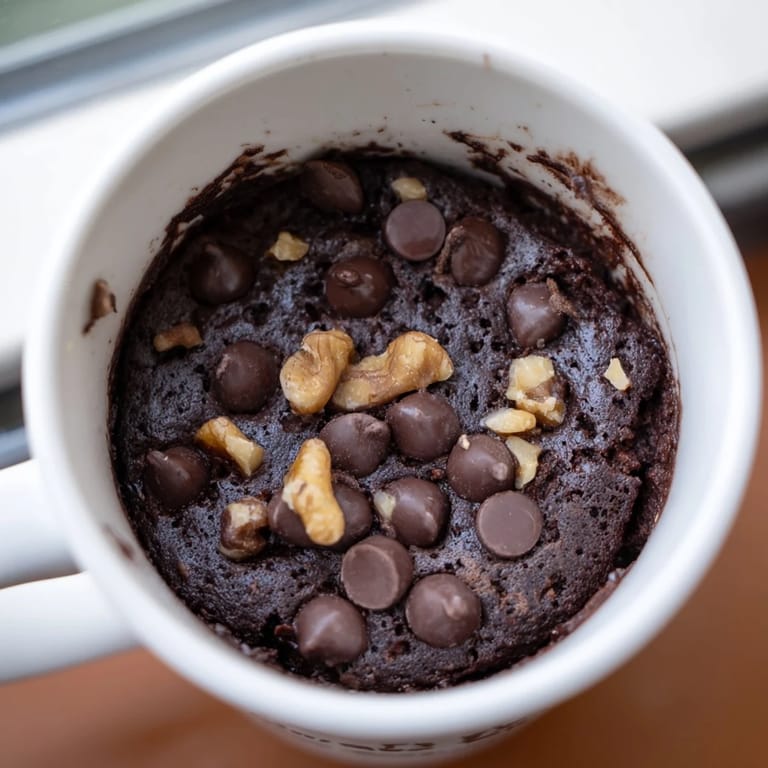
- Chocolate chips: They sink and create molten pockets, which is exactly what you want when you're eating dessert out of a mug.
- Chopped nuts: Optional, but they add a toasty crunch that makes it feel less like desperation and more like a choice.
Tired of Takeout? 🥡
Get 10 meals you can make faster than delivery arrives. Seriously.
One email. No spam. Unsubscribe anytime.
Instructions
- Mix the Dry Base:
- Dump the flour, sugar, cocoa, and salt into your mug and stir with a fork until it looks even and there are no cocoa clumps hiding at the bottom. This takes maybe ten seconds, and it matters more than you'd think.
- Add the Wet Ingredients:
- Pour in the oil, milk, and vanilla, then stir until the batter is smooth and glossy—no streaks, no dry spots. Scrape the sides and bottom of the mug because flour loves to hide there.
- Fold in the Fun Stuff:
- If you're adding chocolate chips or nuts, stir them in gently so they distribute without sinking all the way to the bottom. This is where you can get creative—I've thrown in mini marshmallows, crushed cookies, even a spoonful of Nutella.
- Microwave It:
- Microwave on high for 50 to 70 seconds, watching through the window as it puffs up like a little cake volcano. Stop when the top looks just set but still a bit shiny—overcooking turns it rubbery, and you'll know it immediately.
- Let It Rest:
- Wait one full minute before diving in, even though it smells insane. The center will finish cooking in the residual heat, and you won't burn your tongue off.
 Pin
Pin One night, my friend came over after a breakup and I handed her a mug of this still warm, with a spoon and no questions. She ate it in silence, then asked if I had enough ingredients to make another. We sat on the kitchen floor and made three more, each one slightly different, and didn't talk about anything heavy until the mugs were empty.
How to Know When It's Done
The top should look set but still a little moist, not dry or cracked. If you gently press the surface with your finger, it should spring back slowly. The edges will pull away from the mug just slightly, and the whole thing will smell like a bakery exploded in your microwave. If it looks wet and jiggly in the center, give it another 10 seconds—but err on the side of underdone, because it keeps cooking after you stop the microwave.
Flavor Variations That Actually Work
I've made this with a spoonful of peanut butter stirred into the batter, a handful of crushed Oreos on top before microwaving, even a pinch of cinnamon and cayenne for a Mexican hot chocolate vibe. One time I used coconut oil and shredded coconut and it tasted like a tropical brownie. The base is so forgiving that you can throw in whatever sounds good and it almost always works. My favorite lately is adding a tiny pinch of espresso powder—it doesn't make it taste like coffee, just makes the chocolate flavor hit harder.
Serving Suggestions and Toppings
Straight from the mug with a spoon is the classic move, but if you want to get fancy, top it with a scoop of vanilla ice cream while it's still warm and watch it melt into the cracks. A drizzle of salted caramel or a spoonful of whipped cream makes it feel like you tried, even though you didn't. I've also crumbled it over yogurt the next morning, which sounds weird but tastes like breakfast dessert and I'm not sorry about it.
- A sprinkle of flaky sea salt on top before microwaving makes it taste bakery-level.
- If you let it cool completely, you can turn it out onto a plate and it holds its shape like a little personal cake.
- Leftover mug brownie reheats beautifully for 15 seconds the next day, if it even lasts that long.
 Pin
Pin This isn't the dessert you serve at a dinner party, but it's the one you make when you need something sweet right now, no compromises. It's become my proof that good enough, done fast, beats perfect every single time.
Recipe FAQ
- → What is the best mug size for this dessert?
Use a microwave-safe mug of at least 12 ounces to allow room for the brownie to rise during cooking.
- → Can I substitute the vegetable oil?
Yes, melted butter or coconut oil can be used to add different flavors and richness to the batter.
- → How do I avoid overcooking the brownie?
Microwave in short bursts (50–70 seconds) and watch for the top to look set but moist to keep a fudgy texture.
- → Can I add mix-ins to enhance flavor?
Adding chocolate chips or chopped nuts before cooking boosts texture and depth of flavor.
- → Is it possible to make this dairy-free?
Yes, substitute regular milk with oat or almond milk and use vegetable oil to keep it dairy-free.