 Pin
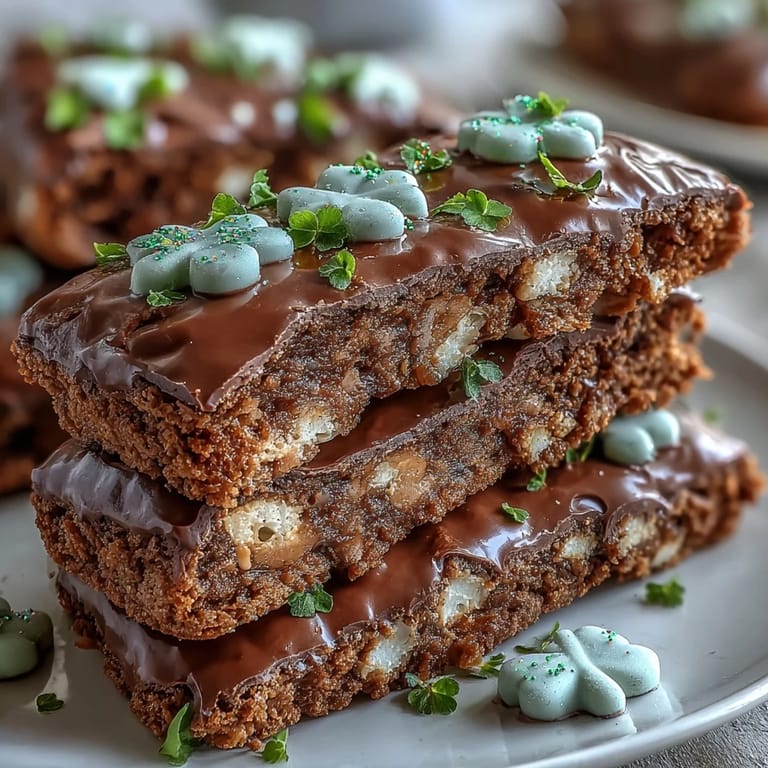
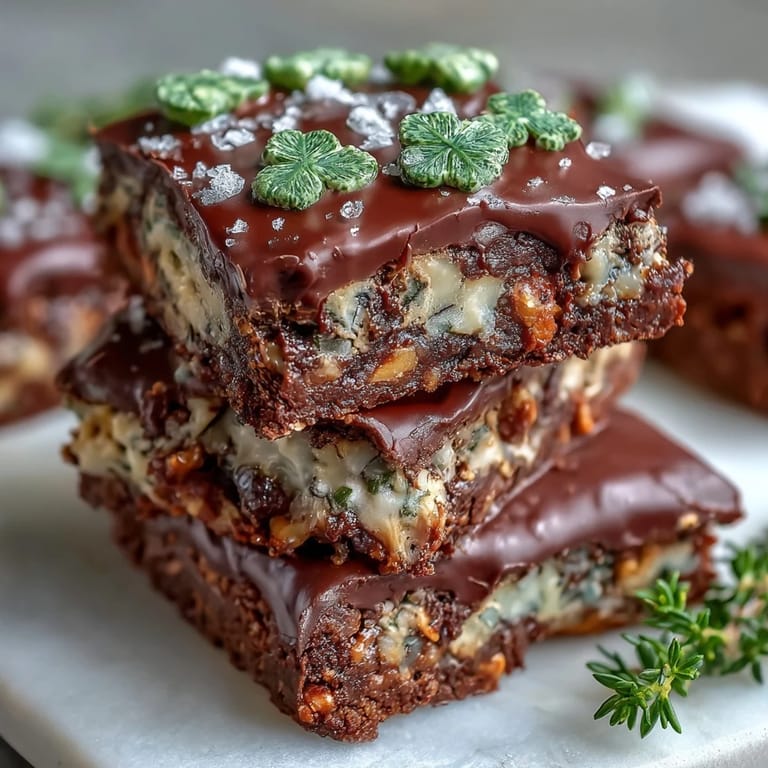
Pin My kitchen smelled like butter and brown sugar the moment I decided these bars needed to exist—no grand origin story, just the practical realization that St. Patrick's Day deserved something chewy, chocolatey, and unapologetically green. My kids had been dropping hints about festive treats for weeks, and honestly, cookie bars felt like the path of least resistance compared to intricate decorated cookies. The first batch came out golden and studded with melting chocolate chips, and watching them disappear within hours told me everything I needed to know about getting this recipe right.
Last March, I brought these to a neighborhood gathering where someone's grandmother mentioned they tasted like childhood comfort mixed with celebration—that's when I realized these bars were doing something right beyond just being green. The way the melted butter and sugars combined before folding in the flour always reminded me of baking with my own grandmother, except she never would have dreamed of green sprinkles back then. These bars became the bridge between tradition and playful festivity in one simple baking pan.
Ingredients
- All-purpose flour (2 1/4 cups): The foundation that holds everything together; make sure it's measured by weight if you have a scale, since scooping can pack it too densely and make bars tough.
- Baking soda (1/2 teaspoon): This tiny amount activates with the brown sugar to give the bars their tender, slightly cakey texture rather than dense heaviness.
- Salt (1/2 teaspoon): Don't skip this—it balances the sweetness and makes the chocolate flavors pop in ways people won't be able to name.
- Unsalted butter, melted (1 cup): Melting it first means the dough comes together faster, and slightly cooling it prevents the eggs from scrambling when you add them.
- Light brown sugar (1 cup, packed): The molasses in brown sugar adds depth that white sugar alone can't achieve; pack it firmly in the measuring cup so you're not undershooting.
- Granulated sugar (1/2 cup): This balances the molasses notes and helps create those crispy-chewy edges everyone loves.
- Large eggs (2): Room temperature eggs incorporate more smoothly, though I've never worried too much about this and they still turn out fine.
- Pure vanilla extract (2 teaspoons): The real stuff matters here because it's one of the few flavoring ingredients in the whole recipe.
- Semi-sweet chocolate chips (1 1/2 cups): These are the workhorse of the bar; use whatever brand you trust because quality chocolate makes a noticeable difference.
- White chocolate chips (1/2 cup): These add sweetness and visual contrast, though they can burn quickly if your oven runs hot, so watch the baking time closely.
- Green sprinkles or sanding sugar (1/4 cup): Half goes into the dough for flavor and festivity throughout, and half sprinkles on top for that unmistakable St. Patrick's Day look.
- Green chocolate candies like green M&Ms (1/2 cup, optional): If you use these, press them gently into the dough before baking so they don't sink to the bottom.
- Clover-shaped sprinkles (optional): A purely decorative touch that makes people smile before they even take a bite.
Tired of Takeout? 🥡
Get 10 meals you can make faster than delivery arrives. Seriously.
One email. No spam. Unsubscribe anytime.
Instructions
- Get your pan ready:
- Preheat the oven to 350°F and line your 9x13-inch pan with parchment paper, making sure some hangs over the edges so you can lift the whole batch out once it's cooled. This overhang is your secret weapon for clean, even bars.
- Mix your dry ingredients:
- Whisk the flour, baking soda, and salt together in a medium bowl until they're evenly combined. This prevents lumps of baking soda from creating bitter spots in your finished bars.
- Combine the wet mixture:
- In a large bowl, whisk together the melted butter, brown sugar, and granulated sugar until the texture looks smooth and slightly glossy. This should take about a minute of whisking; you're essentially emulsifying the butter and sugars together.
- Add the eggs and vanilla:
- Whisk the eggs and vanilla into the wet mixture until everything looks well combined and slightly thickened. Don't be rough with this step—gentle whisking prevents overdeveloping the gluten.
- Fold in the dry ingredients:
- Using a spatula, fold the dry mixture into the wet mixture with gentle, sweeping motions until just combined; a few streaks of flour are fine, and you definitely don't want to overmix. Overmixing toughens the bars, which is the opposite of what you want.
- Add the chocolate and sprinkles:
- Gently stir in the semi-sweet chocolate chips, white chocolate chips, and half of the green sprinkles or candies until they're distributed throughout. The dough should look studded and festive at this point.
- Spread and top:
- Pour the dough into your prepared pan and use a spatula or your hands (slightly dampened helps) to spread it into an even layer. Sprinkle the remaining green sprinkles, green candies, and clover-shaped sprinkles across the top, pressing them in gently so they don't fall off during baking.
- Bake until golden:
- Bake for 23 to 26 minutes, watching for the edges to turn light golden while the center still looks slightly underbaked; the bars will continue cooking as they cool. A toothpick inserted in the center should come out with a few moist crumbs clinging to it, not completely clean.
- Cool completely:
- Leave the bars in the pan until they've cooled completely to room temperature, which usually takes about an hour. Cutting into warm bars will make them crumbly and fall apart, so patience here is genuinely worth it.
- Cut and serve:
- Once cool, use the parchment overhang to lift the entire slab out of the pan and onto a cutting board. Cut into 16 even bars using a sharp knife, wiping the blade between cuts for clean edges.
 Pin
Pin There's something genuinely magical about watching someone bite into a bar and their eyes light up because it's soft in the center, studded with chocolate, and unmistakably festive without being too cutesy. My favorite moment was when my neighbor's teenage son actually asked for the recipe—not because he wanted to bake, but because he wanted to make sure his mom could recreate them after the holiday passed.
Why These Bars Beat Decorated Cookies
Decorated cookies demand precision, piping skills, and about three hours of your time if you're doing them properly, whereas these bars require one bowl, one pan, and about 40 minutes from start to finish. I've been there with the royal icing and the tiny brush, frustrated because one cookie didn't dry evenly, and it never felt worth the drama. These bars deliver that same festive impact with a fraction of the stress, and honestly, people care way more about how they taste than whether the sprinkles are perfectly placed.
Storage and Make-Ahead Options
These bars keep beautifully in an airtight container at room temperature for about three days, and they freeze phenomenally well for up to two months if you want to make them ahead. I've pulled frozen bars out and let them thaw on the counter for an hour before serving, and they taste almost exactly like fresh-baked, which means you can spread your St. Patrick's Day baking across a slower week.
Creative Variations and Flavor Twists
Once you nail the basic recipe, you can play around with the mix-ins without changing the structure—I've swapped in crushed Oreos, added a teaspoon of peppermint extract for a winter twist, and even stirred in chopped pistachios for extra color and crunch. The foundation is so forgiving that you could add dried cherries, swap the white chocolate for dark chocolate, or even drizzle melted white chocolate across the baked bars and add more sprinkles while it's still wet for an extra fancy finish. The real lesson is that once you understand how the dough works, the decorative possibilities become endless, and the bars will taste delicious no matter which direction you take them.
- Try adding a tablespoon of lemon zest if you want brightness that cuts through the chocolate richness.
- White chocolate drizzle across the cooled bars creates visual drama and tastes incredible with the chocolate chips.
- Store these in parchment-lined containers between layers so they don't stick together or break during freezing.
 Pin
Pin These bars have become my go-to festive treat because they're simple enough that anyone can make them, yet special enough that they feel like a real celebration on the plate. Every March, someone asks me for the recipe, and I'm always happy to share because good food is meant to be passed along.
Recipe FAQ
- → What is the best way to achieve chewy texture in these bars?
Using a combination of melted butter and both brown and granulated sugars helps retain moisture and produce a chewy texture.
- → Can I substitute the chocolate chips with other add-ins?
Yes, chopped nuts or different types of chocolate can be used to customize flavor and texture.
- → How do I prevent the bars from overbaking?
Bake until the edges are lightly golden and a toothpick inserted in the center comes out with moist crumbs, then remove immediately.
- → What is the purpose of the green sprinkles and candies?
They add festive color and a fun texture contrast, enhancing the visual appeal especially for St. Patrick’s Day.
- → How should these bars be stored to maintain freshness?
Store in an airtight container at room temperature or freeze for up to two months to keep them fresh.